FreeBSD is a free operating system that is widely used through the world on countless devices for a variety of purposes. This website you are on right now is using the FreeBSD operating system to generate and deliver the content to your computer. The following is a step by step walk through of how to install FreeBSD 10.0 on a computer or server.
After these steps you will have a clean install of FreeBSD 10.0.
Requirements
A FreeBSD installation will require 64 MB of RAM and 1.5 GB of free hard drive space for the most minimal installation. FreeBSD runs on a variety of CPU architectures from amd64 and i386 to PowerPC and sparc64. The additional services being installed on your system will add to minimum requirements and determine the type of CPU you should use. Selecting amd64 compatible hardware should be more than adequate 99.999% of the time.
- A dedicated computer or server meeting the minimum hardware requirements for FreeBSD and the services you intend to run on it.
- A network interface and Internet connection
- FreeBSD boot-only installation media
Unless you have an exotic hardware configuration, any computer or server manufactured in the last 5 years is more than sufficient for FreeBSD. Note, these steps are for dedicating the complete system for use with FreeBSD. If you already have an operating system installed on the selected hardware, it and all data will be removed.
Boot Up the FreeBSD Installer
If you have not done so already, download and create your FreeBSD installation media. Depending on your computer/server and the type of media being used (optical or USB flash drive), you will need to tell your computer to boot off the selected media. Most computers can be dynamically booted from specified media by hitting F12 during initial startup. Consult your computer's documentation for specific instructions since the process may vary.
FreeBSD Setup
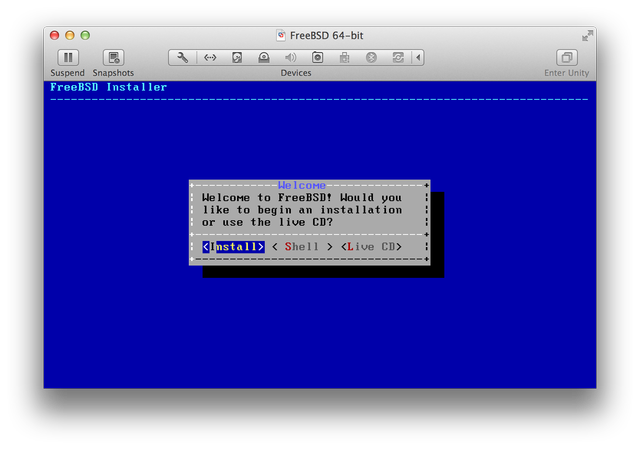
Once booted into FreeBSD you will presented with the installer welcome screen. With the keyboard's arrow keys move the cursor to "install" (it should already be selected) and press ENTER.
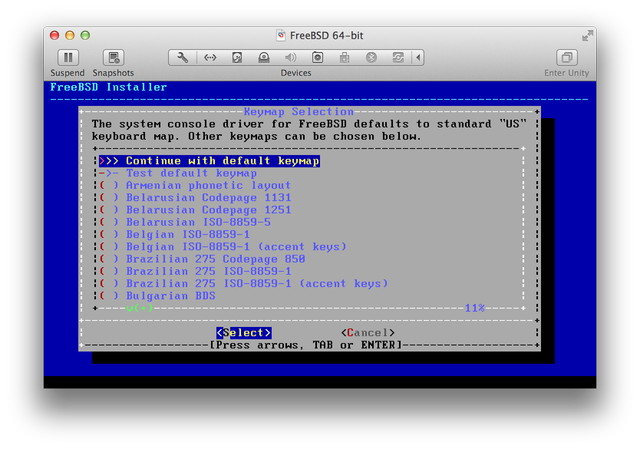
The next screen allows you to customize your keyboard mapping. This is usually not necessary. You can leave the selected defaults and simply press ENTER to continue. However if you need to make changes to your mappings, use the arrow keys and make the required selection.
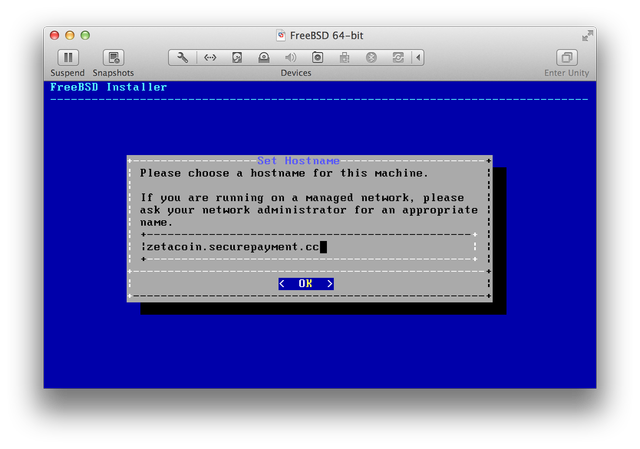
Selecting a hostname is perhaps the most important decision you will ever make for this server. The hostname will be used to identify your server on the Internet. You can choose anything you'd like for a hostname but you want to ensure it is a FQDN. Press ENTER to save and continue.
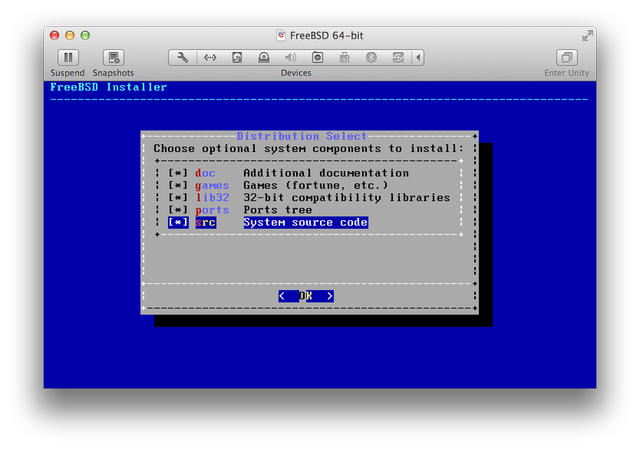
Unless you know exactly what you need and have specific requirements, just install everything. This ensures that your installation is complete and will have all the necessary components for whatever you decide to use this system for. Use the arrow keys to move between each component and press the SPACE bar to enable or disable installation of the component.
Network Configuration
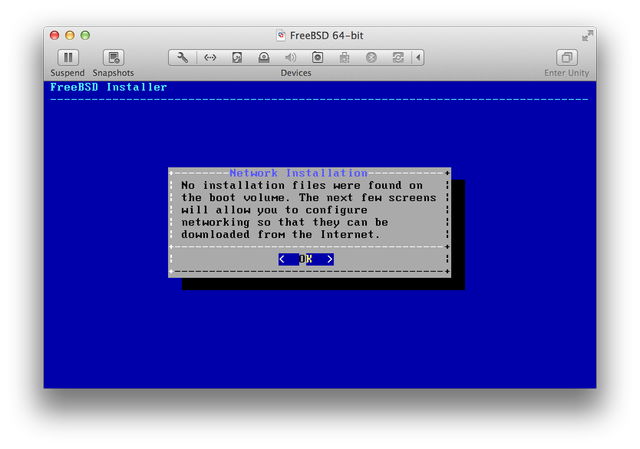
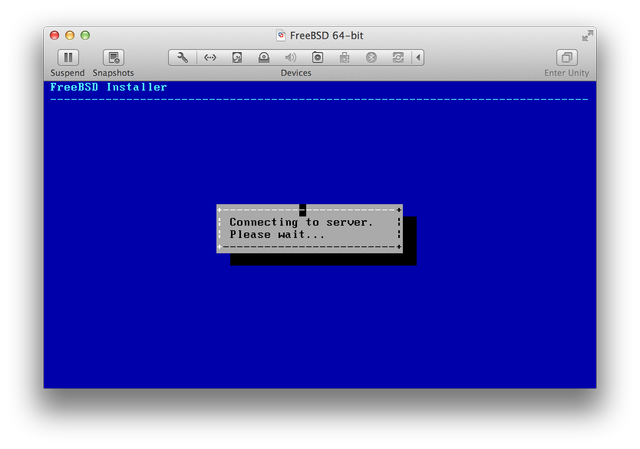
Since we are using the network install option you'll get notification stating that no installation files were found. Press ENTER to proceed with the network configuration.
Select the network interface you are using if you have more than one. Press ENTER to continue.

The next steps will vary depending on your network configuration. IPv4 and DHCP is the most common setup amongst networks where an IP address is automatically selected and assigned to your computer. Sometimes you will need to specify a static IP address. If you do not know select YES and press ENTER. The system will attempt to auto-configure the interface.

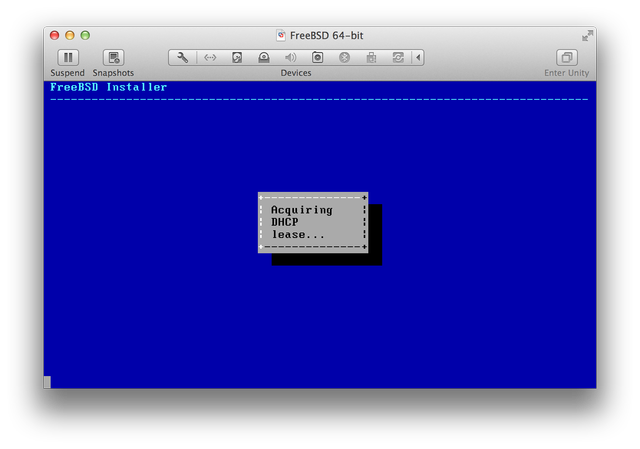
Select YES and press ENTER to use DHCP to auto-configure the network interface

DHCP can fail for several reasons. The most common reason is that you selected the wrong network interface (if you had multiple). Another reason is that your network isn't using DHCP and you need to specify a static IP.
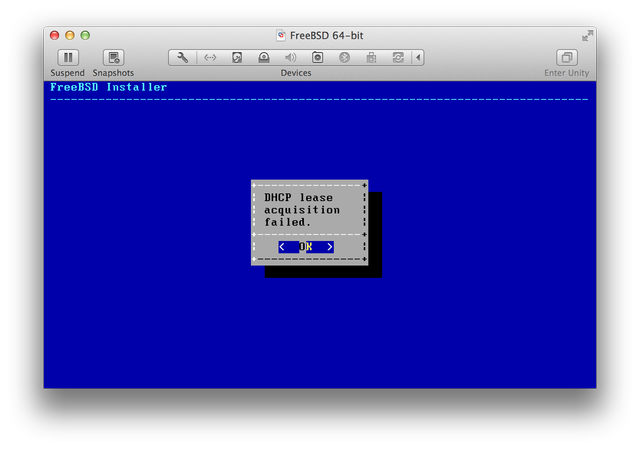
If you need to specify a static IP address you should select NO and press ENTER.

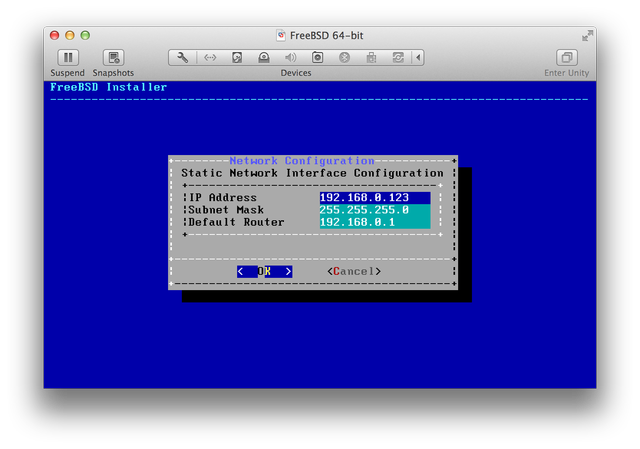
Enter the IP address, subnet mask, and router that is applicable for your network setup. Press TAB to move between the OK and cancel. Use the arrow keys to move between the fields.
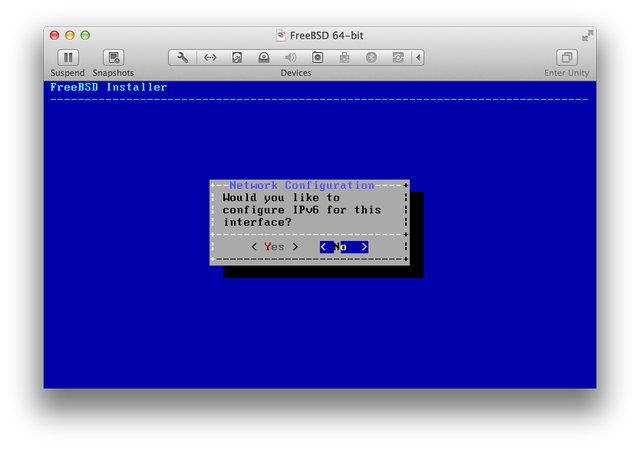
IPv6 configuration is not required unless you also need it or IPv4 is not being used. Typically you would select NO and press ENTER. IPv6 won't be covered here.
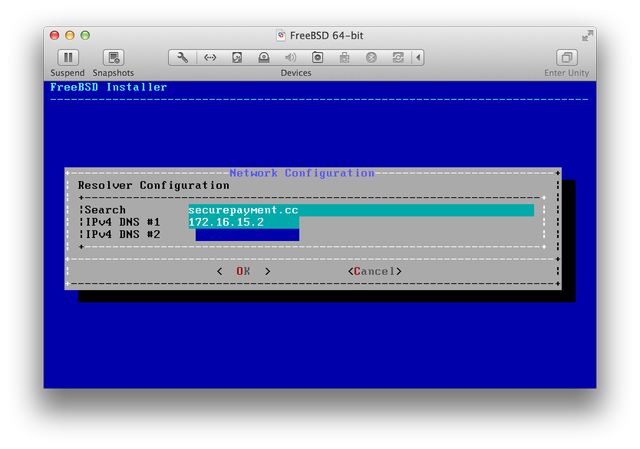
If DHCP was successful your DNS resolver configuration settings will be filled in automatically. If your using a static IP you will need to fill in the DNS resolver settings that pertain to your network. At the very least you need DNS #1 filled in order to continue. If for whatever reason you do not know what they are you can leave the search field empty and use 8.8.8.8 as DNS #1 and 8.8.4.4 as DNS #2.
Package Mirror Selection
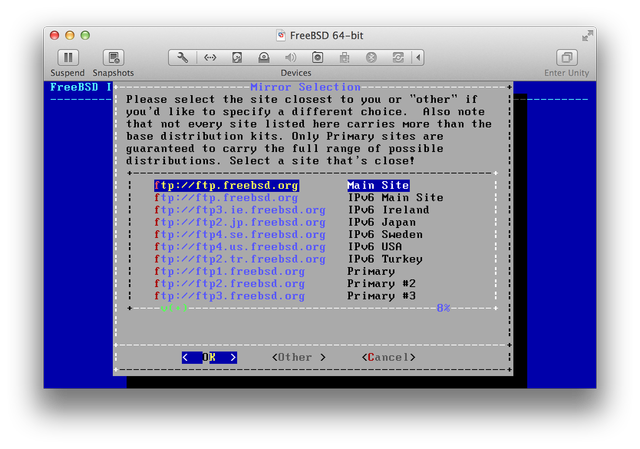
Now that the initial system setup complete and networking is up and running we can proceed with the installation of the operating system. First we must select were to download the installation packages from. FreeBSD recommends that you select a nearby mirror, but you can simply use the default main site and press ENTER.
Disk Partitioning with ZFS
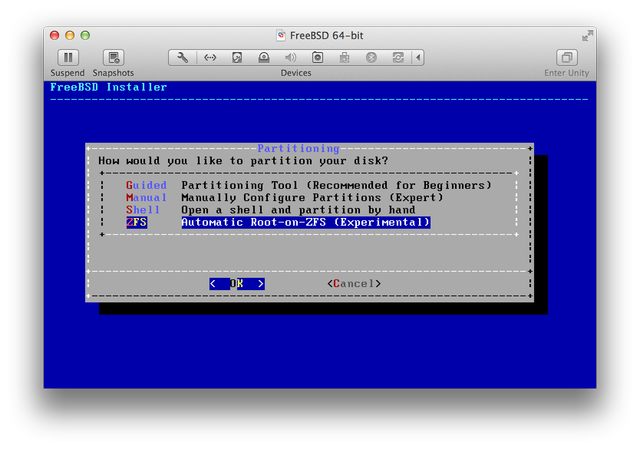
If your system has at least 4GB of RAM and is using a 64-bit CPU I suggest you try the latest and greatest features, and use the ZFS file system. ZFS can still be used on a 32-bit CPU with less than 4GB of RAM. However I do not suggest using ZFS in that regard.
Select ZFS and continue with the steps below. Otherwise skip down to Legacy UFS
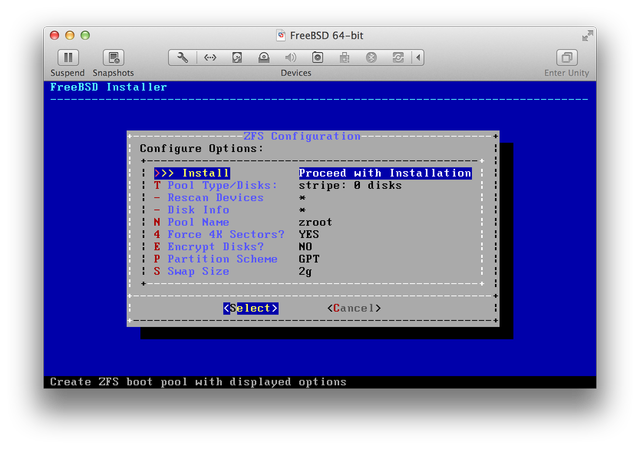
The pre-filled defaults are sufficient for basic single drive configurations. If you would like to setup encryption, change the SWAP size, customize the pool name, and modify other advanced settings you may do so on this screen. Press ENTER to continue.
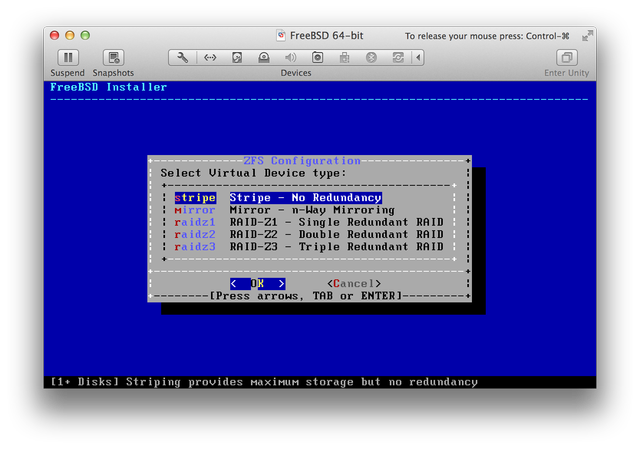
The next screens allow you to setup a RAID-Z configuration if applicable. For a basic single drive system accept the default selection and press ENTER
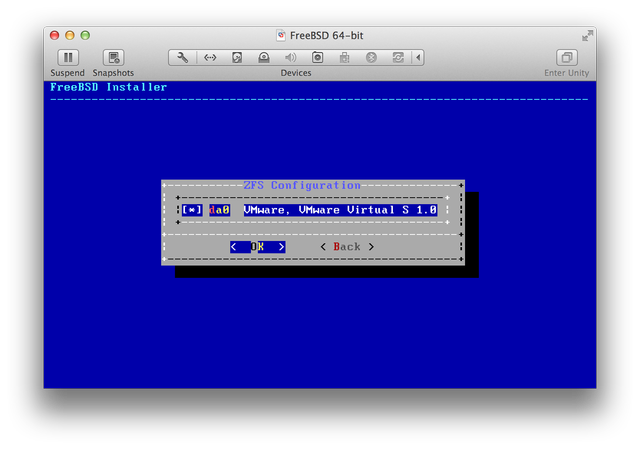
Our example is utilizing a single disk
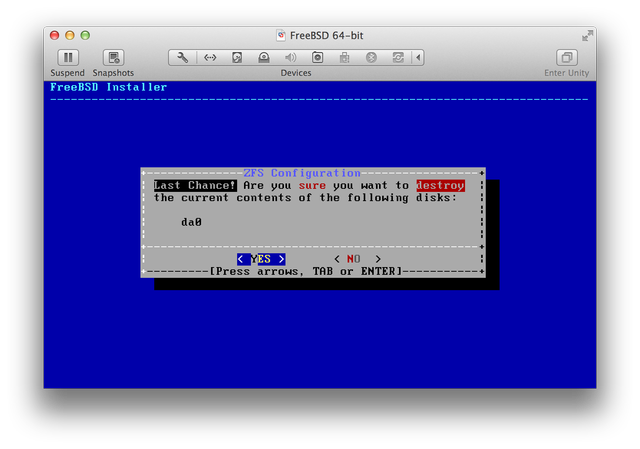
Select YES and press ENTER to re-partition the drive.
Legacy UFS
UFS is a stable and reliable file system that has been used in FreeBSD for several years. It's a good choice for older systems that can't use ZFS or if you do not want to use ZFS.
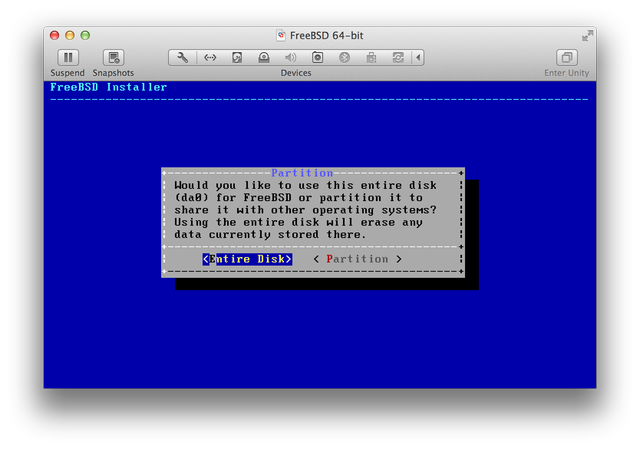
Select "Guided" and press ENTER to use UFS.

Ensure "Entire Disk" is selected and press ENTER.
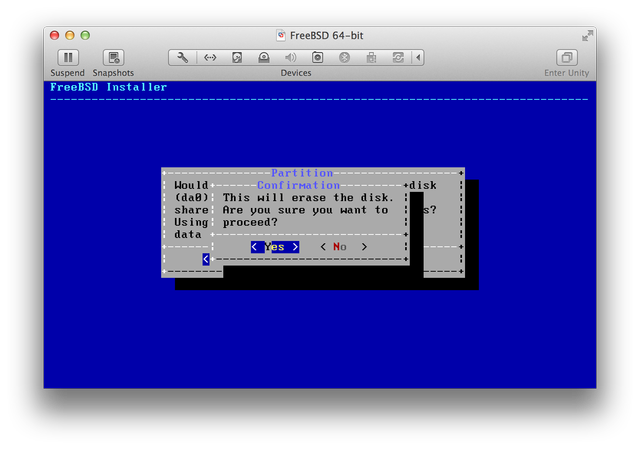
Select Yes and press ENTER.
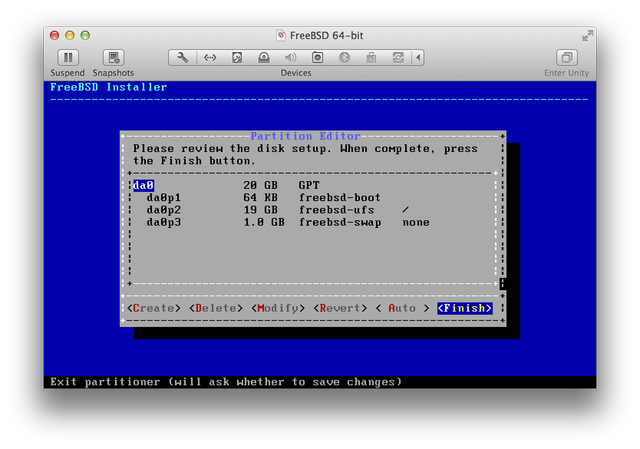
Review the proposed disk structure and make any customizations if necessary. Otherwise accept the defaults. Select Finish and press ENTER.
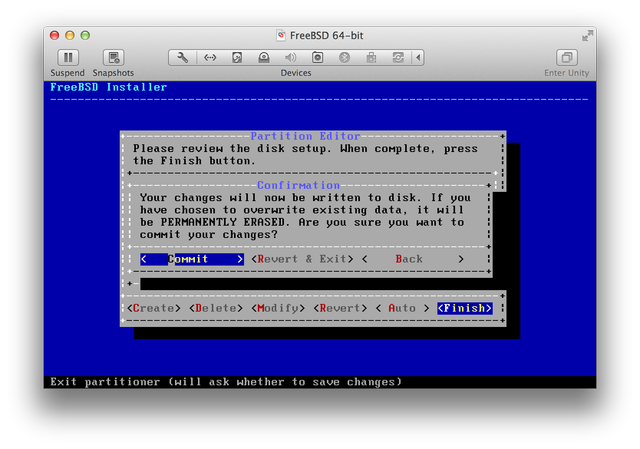
Ensure Commit is selected and press ENTER to write the changes to disk. Any existing data on this disk will be lost.
Install the Operating System
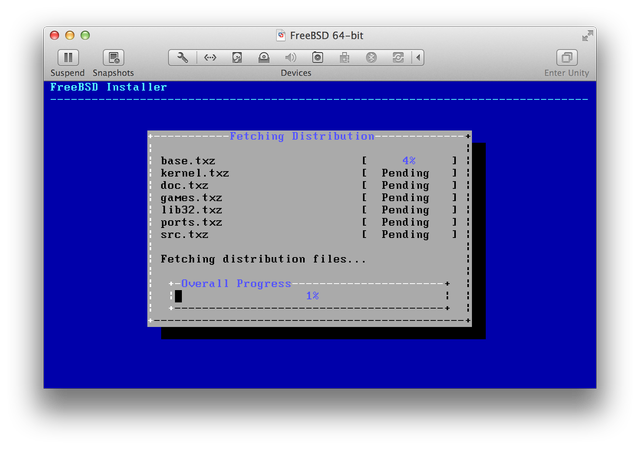
Your FreeBSD operating system is now installing. First it will download the packages to temporary storage. Depending on your Internet connection speed this could take several minutes. Afterwards it will extract the packages and install them to the disk. The installation could take 10 minutes to 1+ hour depending on your computer's speed.
Post Install Configuration
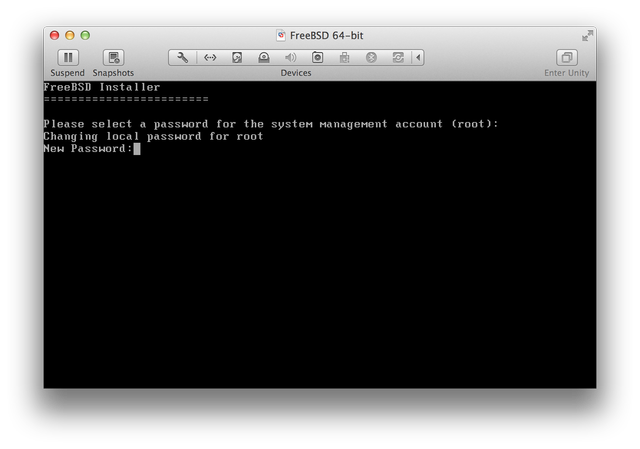
When your system has completed the installation you will be asked to specify a root password. The password will not be shown when you type it. Ensure you keep this password in a safe place. Press ENTER to confirm.
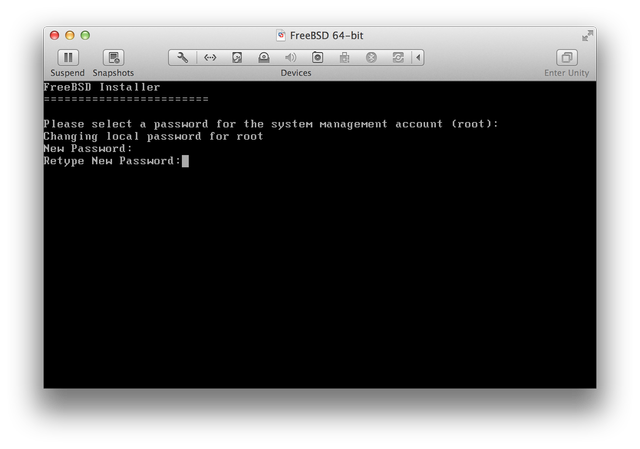
Type the root password again to confirm it. Press ENTER to continue.
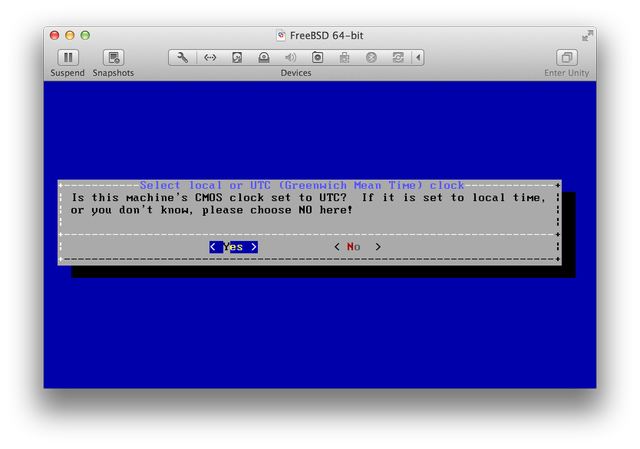
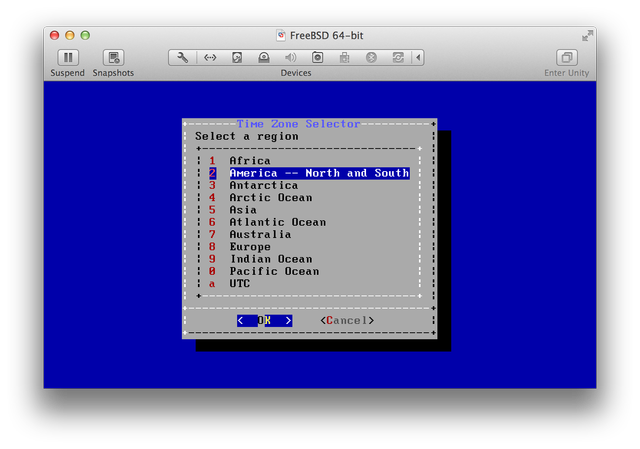
Next you need to decide whether or not you are using UTC. Then you will be asked to select your timezone.
Use the arrow keys and press ENTER to navigate through the timezones
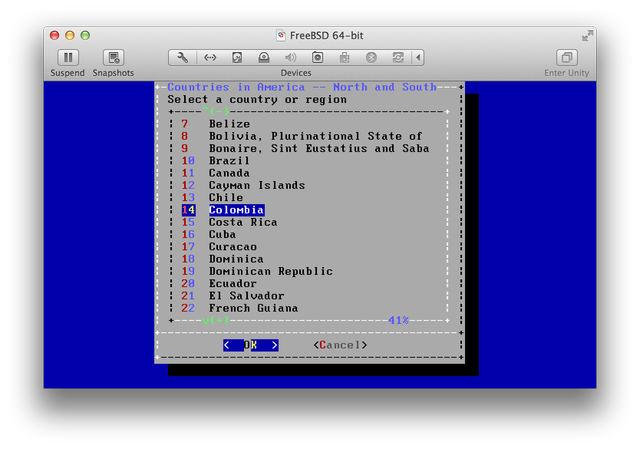
As you can see the timezone menus can very extensive
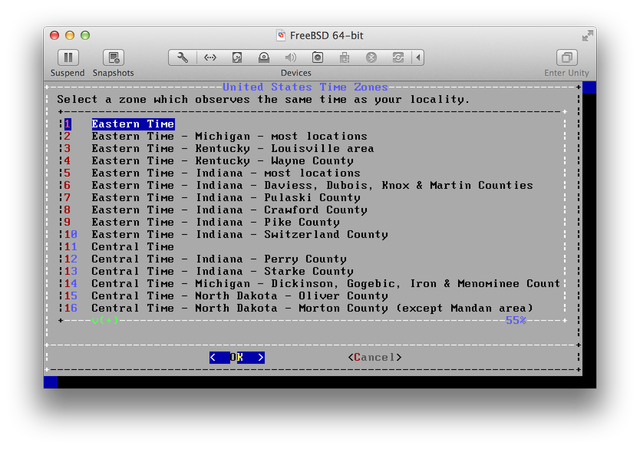
You'll be asked to verify your timezone selection. Press ENTER if correct

Finishing Up
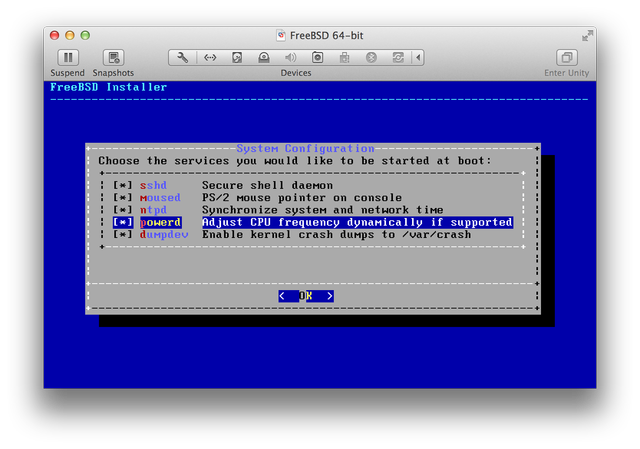
These steps involve selecting what services to start at boot and adding system users. Ensure that at the very least you have the sshd service selected since we will need this to be running in order to remote into the system.
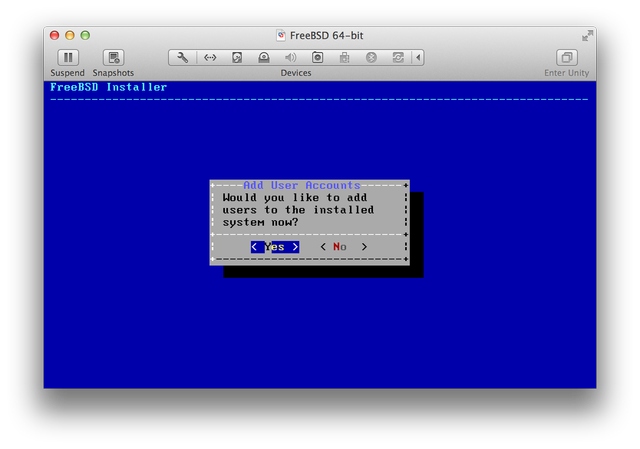
Select yes and press ENTER to add users to the system.
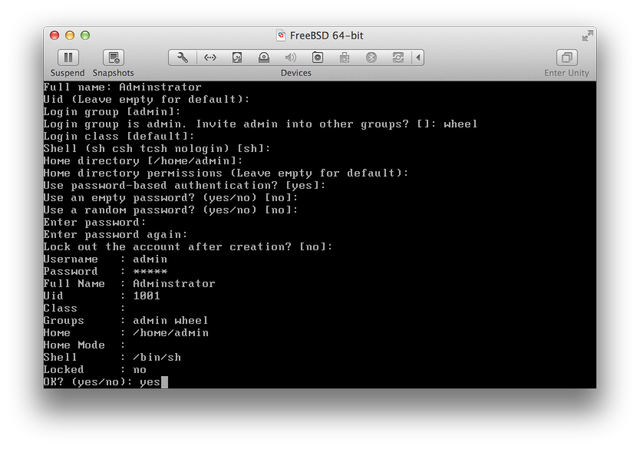
Carefully answer each prompt as best as you can. Most prompts with defaults can be left blank. The defaults are enclosed in '[]' brackets. Pay extra attention to the 4th prompt where you will need to add the user to the wheel group. Without this you will not be able to use the 'su' command when using remote access. You also do NOT want to lock the account after creation.
If you make a mistake at any point continue to the end and type 'no' to start over.
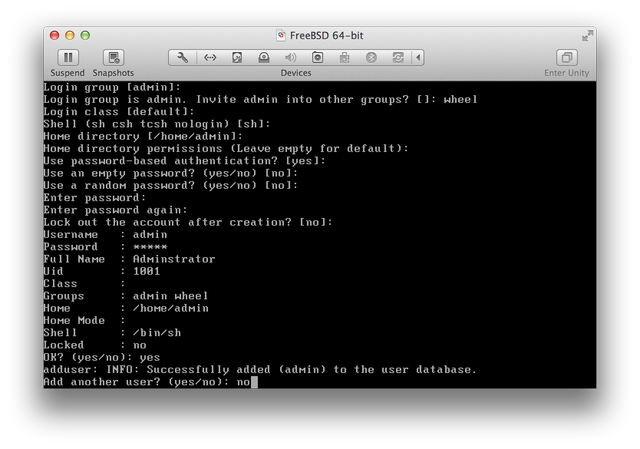
You can add as many users as you want or need. User's that are part of the 'wheel' group are usually considered 'admin' type users since the will be able to 'su' to root. When you've added all your users issue a 'no' response to continue.
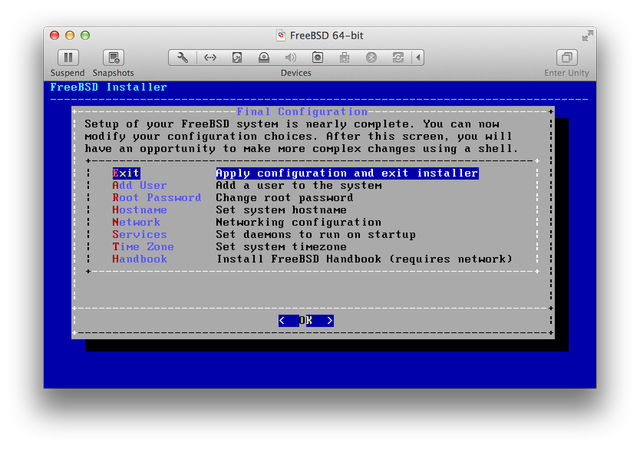
You will be offered one last opportunity to configure your system. Unless you have any specific needs this won't be necessary. Simply select 'Exit" and press ENTER.
Boot into FreeBSD
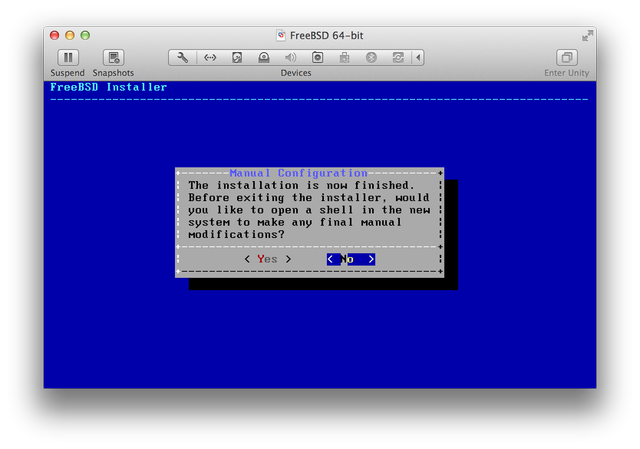
This final prompt asks if you want to drop to a command line to perform advanced actions. Under normal circumstances no additional actions are needed. Select 'No' and press enter.
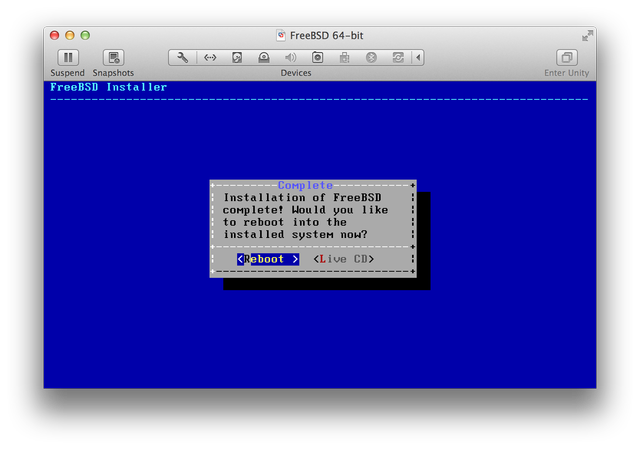
Remove any boot media and select Reboot. Press ENTER when ready to restart the computer.
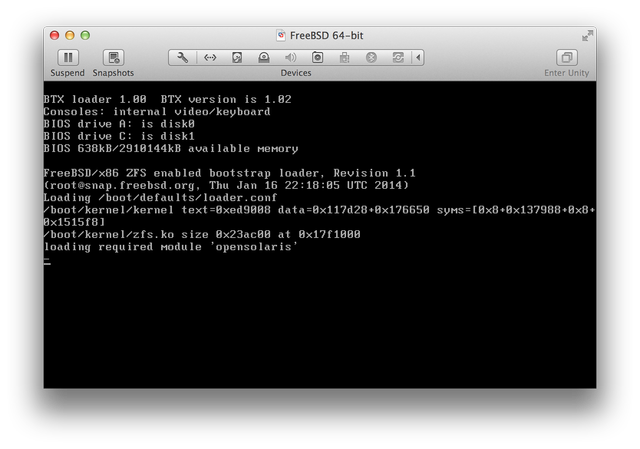
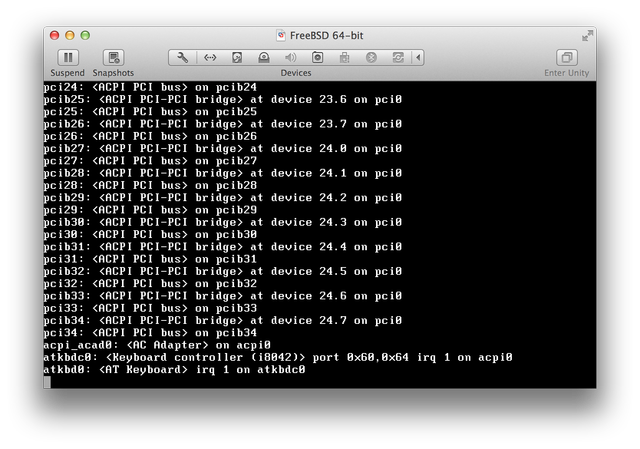
Allow the system to boot up. You will see text scroll by very quickly as the kernel loads and initializes device drivers.

During the initial boot up your system will auto-generate unique identification keys that will later be utilized by the SSH service to allow remote access.
Once you see the 'login' prompt you are ready to begin using FreeBSD.
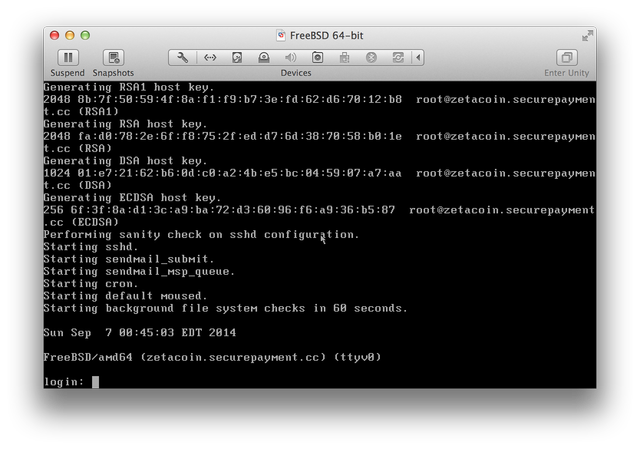
Congratulations! FreeBSD is installed.

.png)